Tuesday, March 25, 2014

bag tutorial part 4- handles

we are almost done with our tutorial.
hope you are happy so far with your bag.
lets get started on the handles.

straps-make 2

i wanted my straps to be 20 inches 
so i chained 40 inches(we are going to use them when they are folded).
i didn't count since the number 
will vary according to the desired length of your handles

row 2-4 dc all through 
you should end up with something like this
fasten off leaving a long strand of your yarn that you will use to join the strap


hold two edges together,and using overcasting stitch join them as follows
 you should end up with 2 of these straps

attaching the handles to the bag

put one of the strap through one eyelet of the bag and then through the next eyelet on the same side of the bag as shown below

join the edges with a needle and thread to have one infinity strap through your two eyelets on one side
do the same to the other side

strap holders-make 2

row1     chain40
row 2-15  dc all through.you should end up with this
taking one strap-holder place two straps of  one side of the bag in the middle
bring the two edges together and using overcasting stitch join them as below
do the same for the other side and you are done....


i hope you enjoyed this tutorial.
thanks for the read.
keep safe,
xoxo,
Anne.

if you have a question  email me ~~~~~~~> annw330@gmail.com

you can find me on
 instagram
pinterest

Saturday, March 22, 2014

Done Doing Average

Hi i hope you are getting on fine.
i saw this video on you tube and men i got my mind racing.
what i will do in my life differently.
 yeah bigger dreams and getting to the target
I realized that i had 'arrived'  you know getting comfortable,
the dream has to roll and fast.
in this video Carol Mutoko hits the nail on the head,
the part where she says that if one sets the bar too low that's what you achieve.
so am done doing regular ... average attitude,average grades,average degree,an average interview,average position,average salary,..........
she also says ' A woman who prays is powerful'this is the highlight of this speech'


she ends with this powerful quote '....the power within you is so scary i hope you know what you got,because i do'

some quotes

Great minds discuss ideas; average minds discuss events; small minds discuss people.
You were not created to just get by with an average, unrewarding, or unfulfilling life. God created you to leave your mark on this generation.
Don't let the opinions of the average man sway you. Dream, and he thinks you're crazy. Succeed, and he thinks you're lucky. Acquire wealth, and he thinks you're greedy. Pay no attention. He simply doesn't understand.


i hope you have been inspired.
i am off to make an above average life for my self....catch me if you can


yours ,
Anne.


Tuesday, March 18, 2014

Bag Tutorial -part 3 joining granny squares

welcome back .
we are now on part 3,
where we will be laying down and joining our granny squares.
here is a link on 10 ways to join your granny squares.
i used the double crochet method since it holds the squares firmly and leaves nice finish.
you can use whichever method you find easy.

lay down your granny squares as follows


then join the sides of the bag as follows.simple right?


you should end up with something like this

and  on the side it should look something like this


now that you are done joining ,your bag has shape.

row 1- 1tr on each tr space and chain one space and 2tr on  chain 3 space all around
row(2-6 )-tr all around
fasten off.
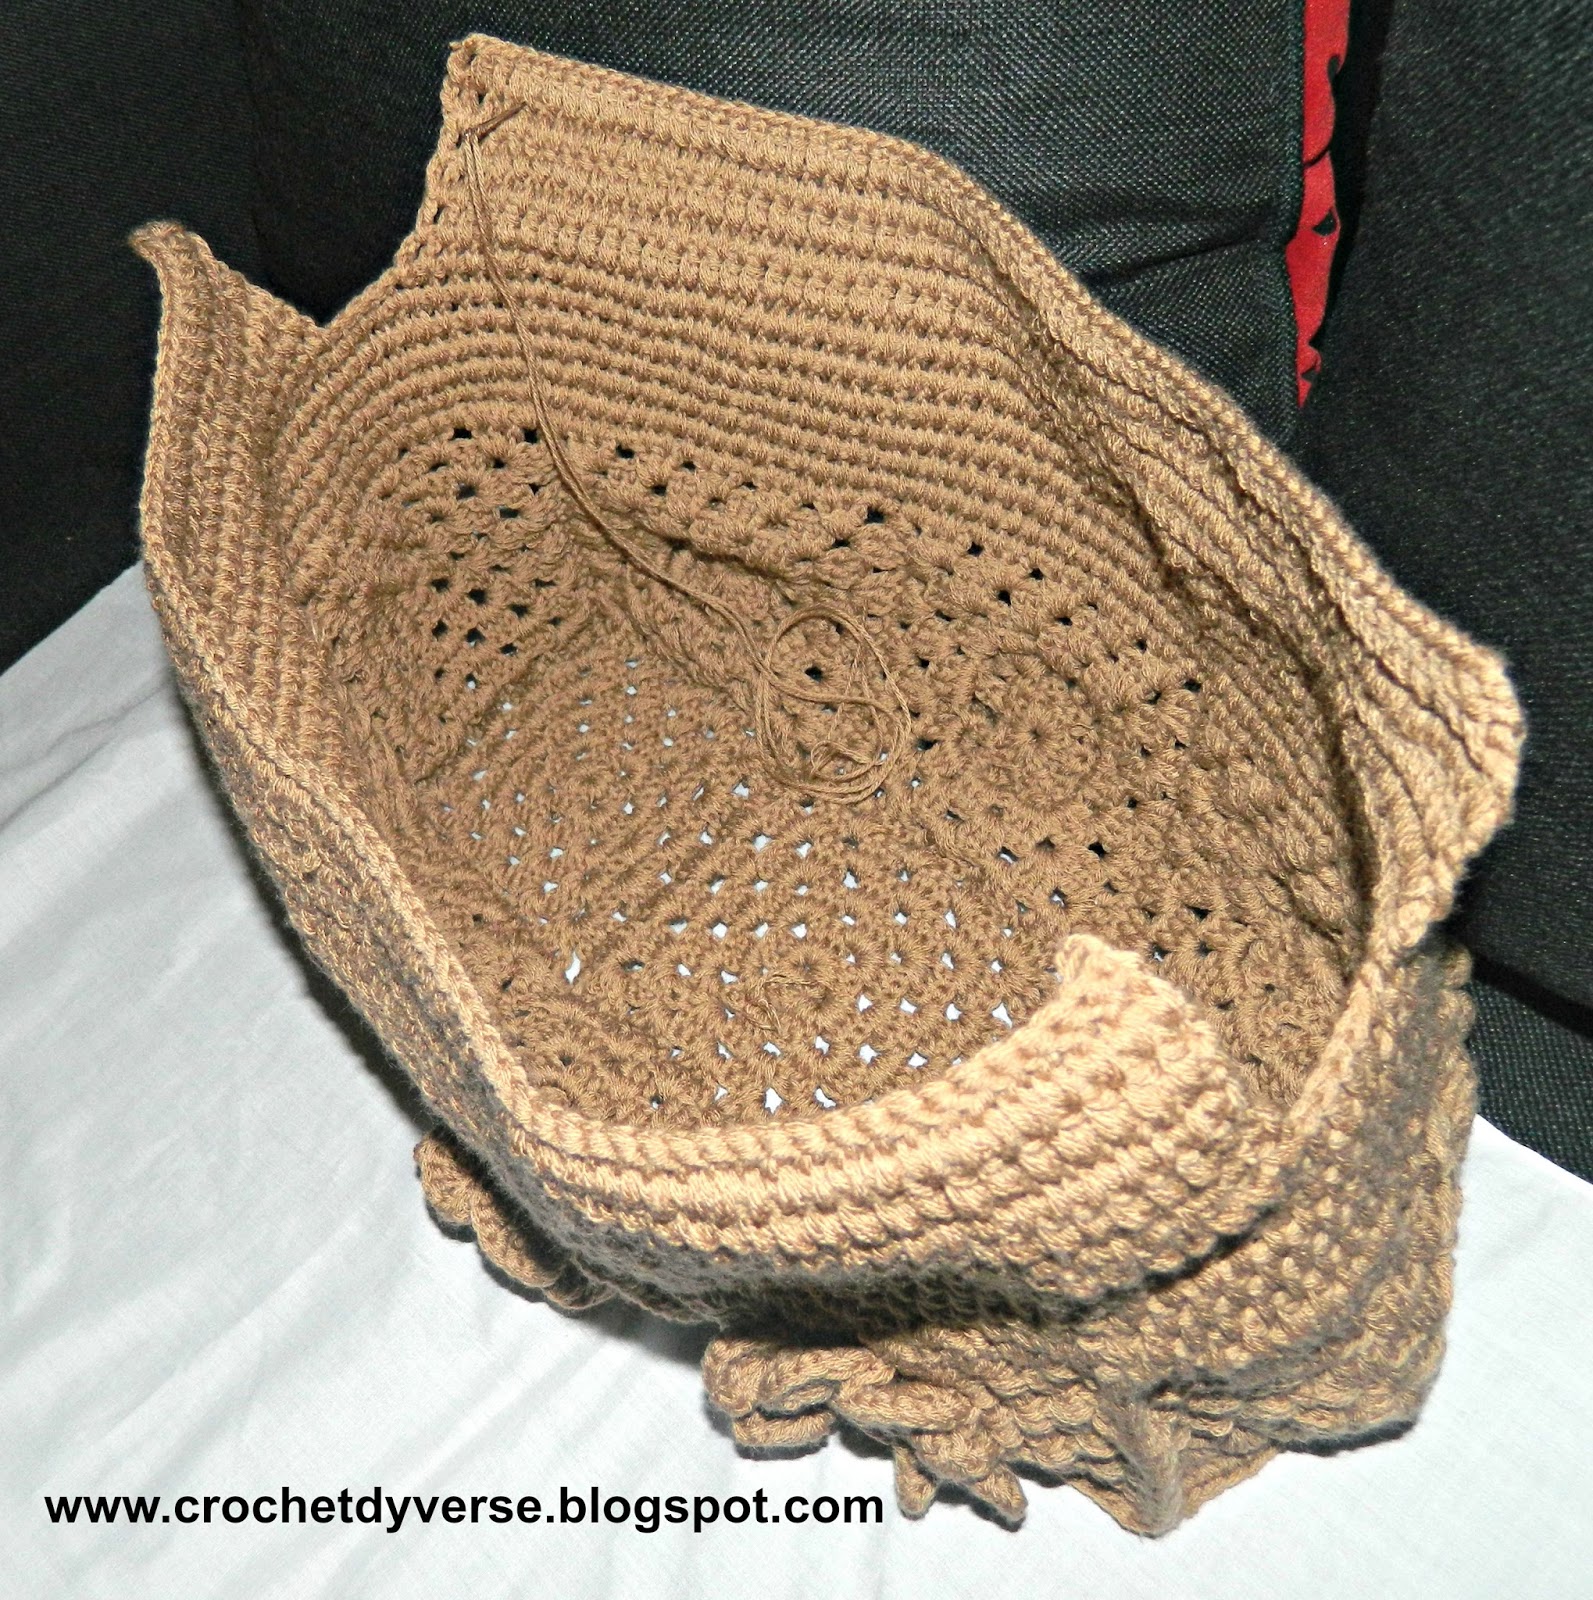
you should have something like this
lay the bag down flat and find the two mid points
skipping 2 tr from the end,ch 3(counts as a tr) tr all through one side  stop when you get to tr2 to the mid point as shown below.
row 2-6 turn and tr all through


repeat this on the other side
you should have something like this

have the bag lined and a zipper put in-i took mine to a tailor
and had four 25 mm eyelets put in .

sorry i didn't get a photo of the eyelets without the leather handles.
stay tuned 
on how to put in crochet handles

keep safe,
xoxo,
Anne.

if you have a question  email me ~~~~~~~>; annw330@gmail.com

you can find me on
 instagram
pinterest

Tuesday, March 11, 2014

Bag Tutorial -part 2 granny squares


welcome back,
we are now on part 2 ,
i hope you have your supplies ready.
starting us off ,we will be making granny squares....
pretty easy if you have  done granny squares before.
two types of granny squares will be used for this project.so lets get started

 granny square A- make 5 pieces

we will be making normal,easy granny squares
you can use this granny square tutorial

 but add one more row to it


granny square B-make 6 pieces

-chain 5, slip stitch at the 1st chain.(ring formed)

-chain 3(counts as a tr) 1 tr, chain 6 , slip stitch to the top of 1tr, *2tr, chain 6 slip stitch at the top of the last tr* repeat ** 6 times (8 rings should be formed)

-in each of the 8 rings tr 12(this forms 8 petals)

-slip stitch at the space between the two petals.turn your work around. you will be working from the wrong side.
*Chain 5, slip stitch in between the next two petals, chain3 and slip stitch in between the next two petals* repeat** until you are done
You should have something like this

in the chain 5 space Chain 3 (counts as a treble), 2 tr, chain 3,3tr ch1. In the chain 3 space,3 tr chain1,* in the next chain 5 space 3tr, chain 3,3tr ch1, In the chain 3 space, 3tr chain1* until the end

you should have something like this
-chain 3(counts as1 tr) ,2tr,ch3,3tr into the same space*( ch 1 3tr) into each ch 1 space along side square,ch1 ,into each ch 3 space on the corner (ch1 3tr ch3 3tr) till the end.
-repeat the above row one more time and your final reult should be something like this

lets meet next week when you are all done.then we will start joining the granny squares.
keep safe,
xoxo,
Anne.

if you have a question  email me ~~~~~~~> annw330@gmail.com
i would also love to see the photos of your progress

you can find me on
 instagram
pinterest

Tuesday, March 4, 2014

Bag Tutorial part 1-Gather your supplies


Hi, hope all is well.
I have a tutorial to share,am kinda nervous since this is the first one i have ever done.
I came across this bag on pinterest as i was looking for inspiration. 


I thought it looked pretty awesome,
but i had to come up with one that said me ....you know what i mean...
here is a photo of what i came up with...


be warned my pattern writing skills are pretty rusty thus a tutorial and not a pattern... :)
but be assured of many photos to help you understand the process

materials/what you need

  • 5 balls of 50.gram yarn- i used 100% acrylic yarn (use double strand)
  • a crochet hook,size matching the yarn, i used a 3mm hook
  • sewing needle
  • a pair of scissors
please get your supplies ready,
we will get started in the next post.


xoxo,
Anne.